Incident Tracking - Settings and Permissions
How to grant user permissions and customise your Incident Tracking settings.
-
Getting Started Day To Day Management Managing Users Managing Multiple Schools The Dashboard The Template Editor Managing Staff Profiles Advanced Editor Insights and Reporting User Settings MIS Integration Troubleshooting and Support Safeguarding Guide What's New External Checks Sign In App Integration Incident Tracking
Table of Contents
User Permissions
You can assign specific permissions for users based on what they need access to. To edit these permissions for an existing user, navigate to Settings>Organisation Menu>Users and then double-click the user you wish to edit. From here, you can toggle on the below permissions:
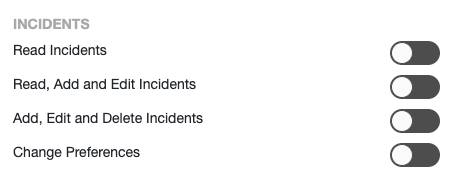
Click ‘Save Changes’ when done.
Settings for Incident Tracking
To edit the settings for Incident Tracking, navigate to Settings>Add-Ons>Incident Tracking where you will be able to add and edit Tags, Categories, Severities, and Statuses.
Settings - Tags
The incident tags enable you to record the type of incident that has occurred. We have four default tags for this:
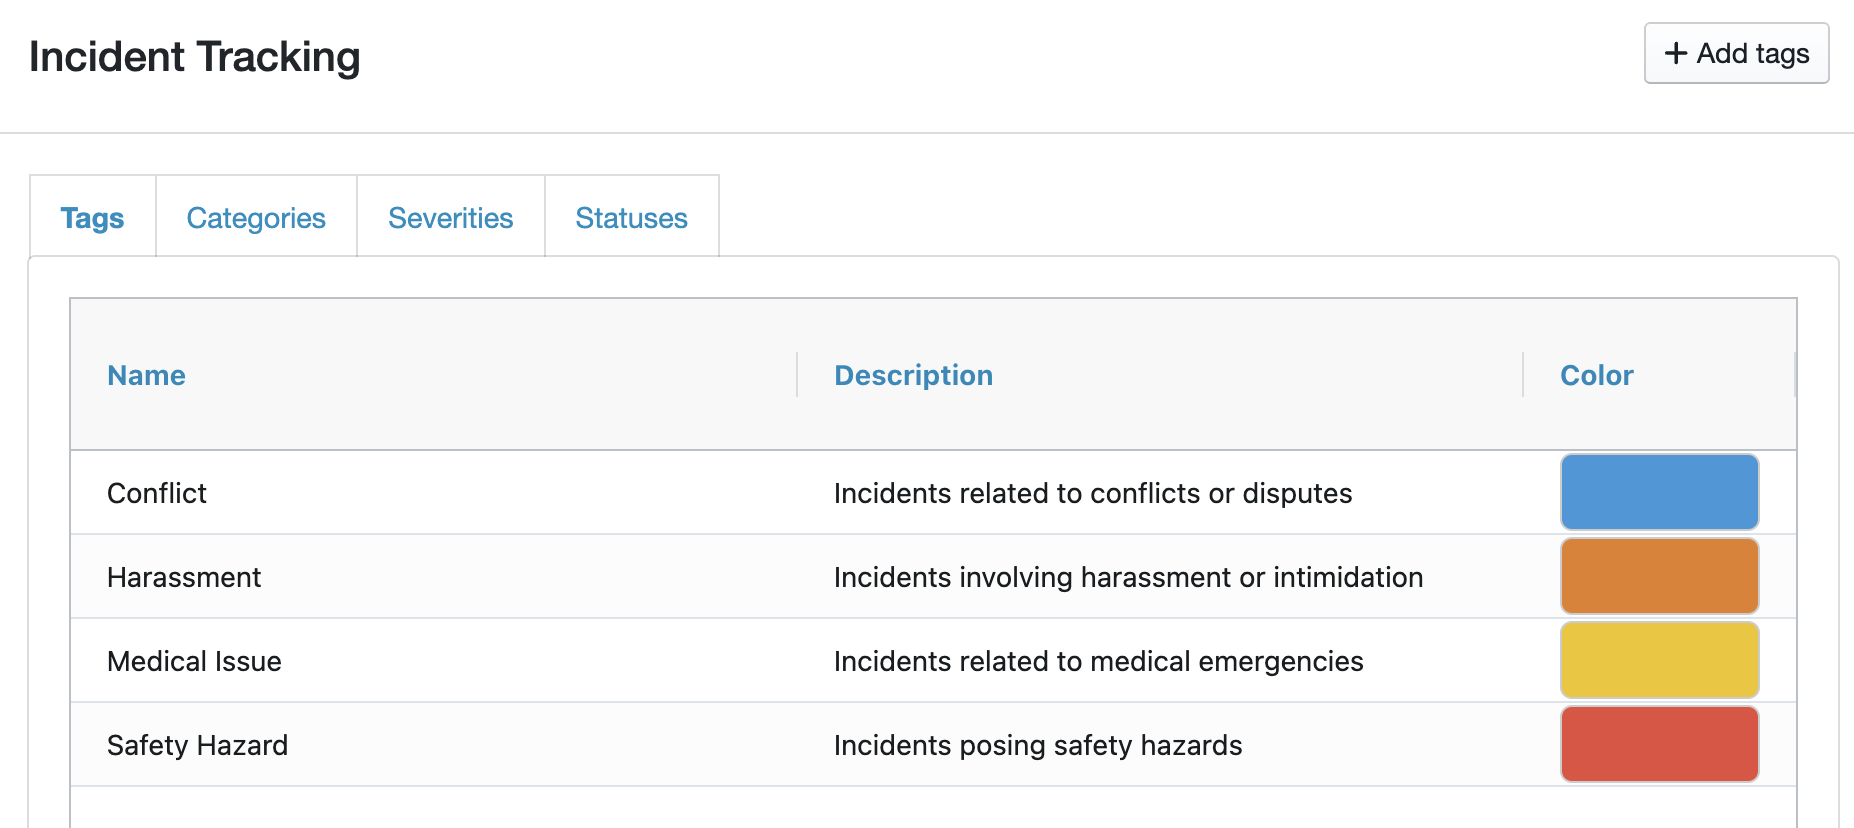
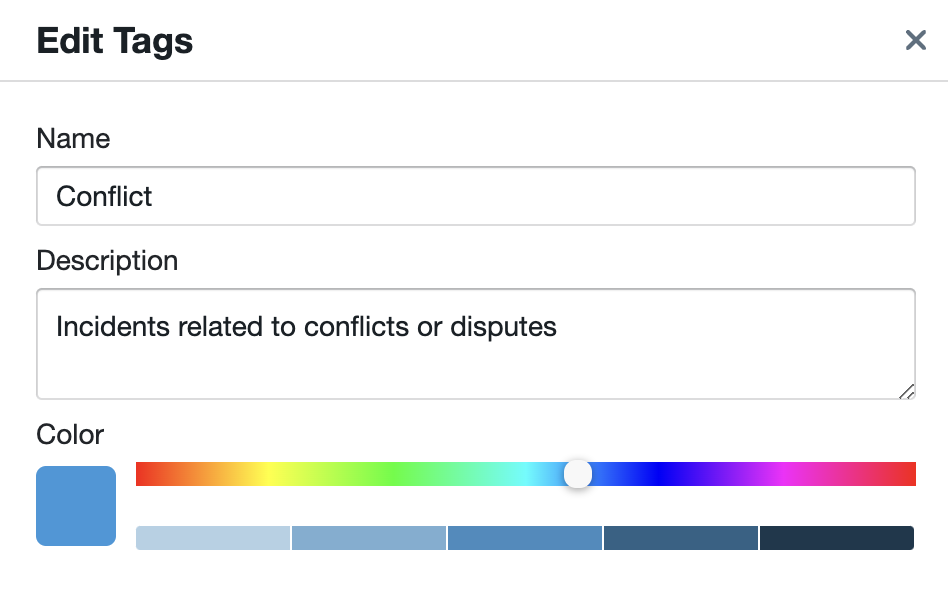
You can edit any of the default tags by double-clicking on the name to open the tag editor, where you can amend the Name, Description, and Colour:
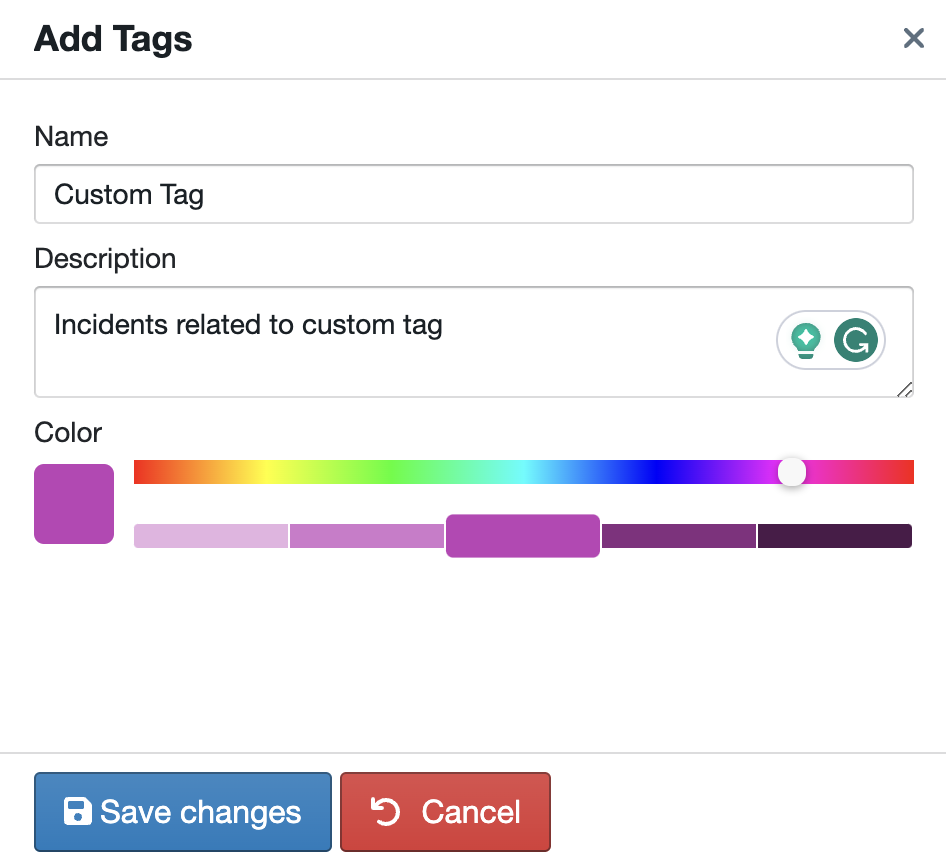
You can also add your own custom tags if you need to. To do this, on the 'Tags' tab, click '+ Add Tags' in the top right-hand corner. You can then give your custom tag a Name, Description, and choose a colour as below:
Settings - Categories
The incident categories enable you to categorise an incident. We have 6 default categories shown below:
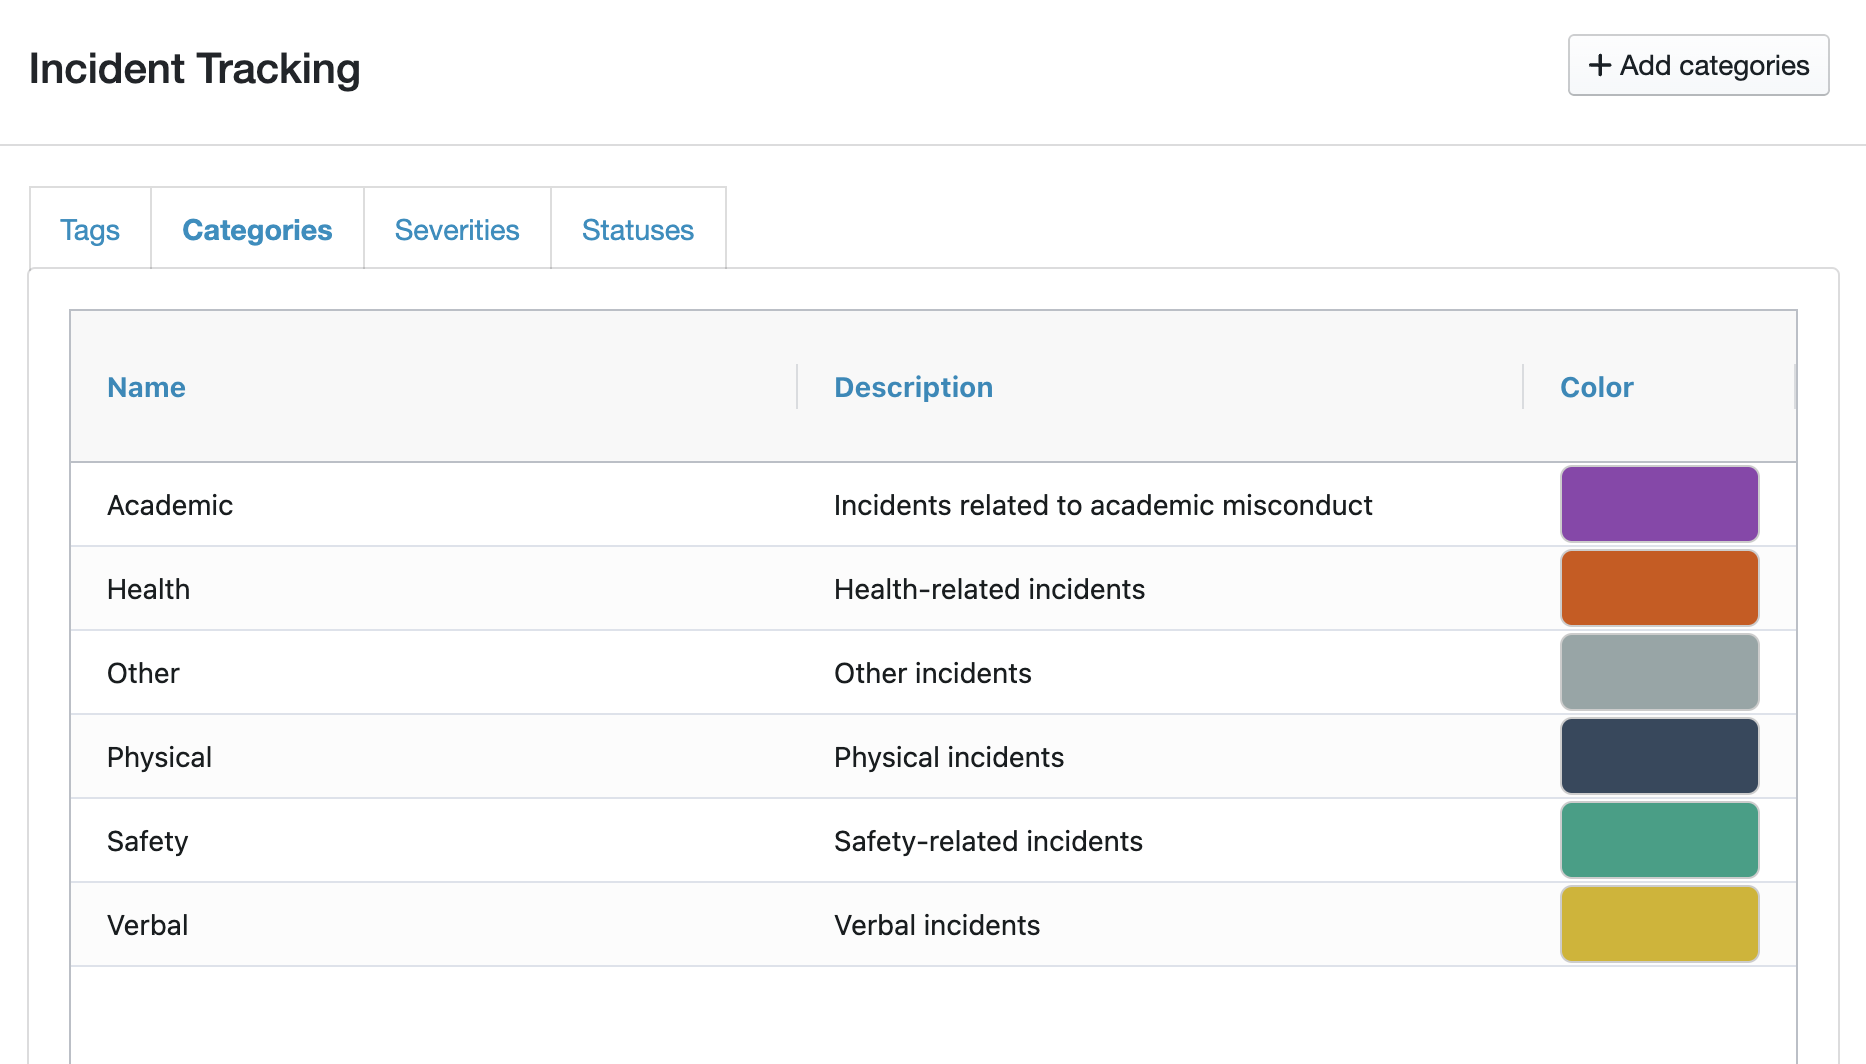
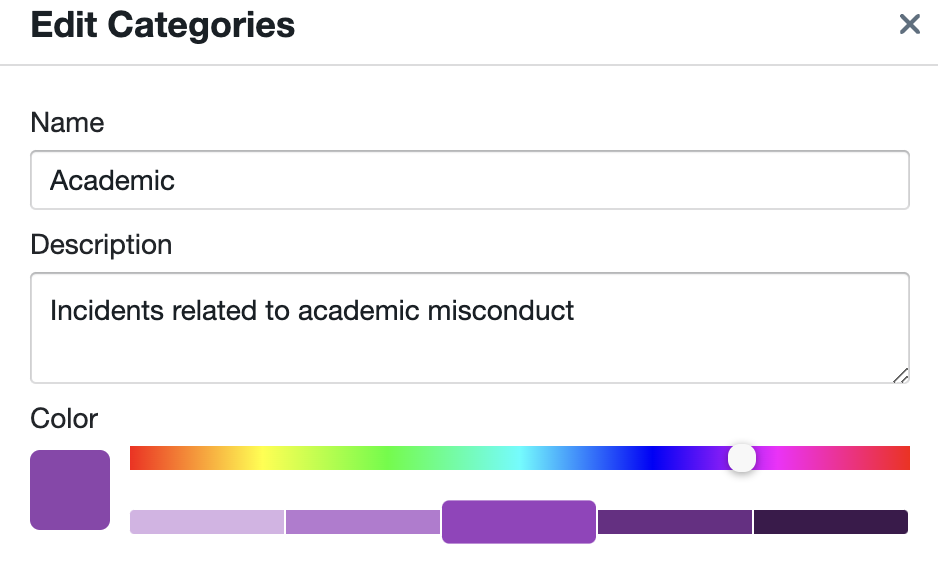
You can edit any of the default categories by double-clicking on the name to open the category editor, where you can amend the Name, Description, and Colour:
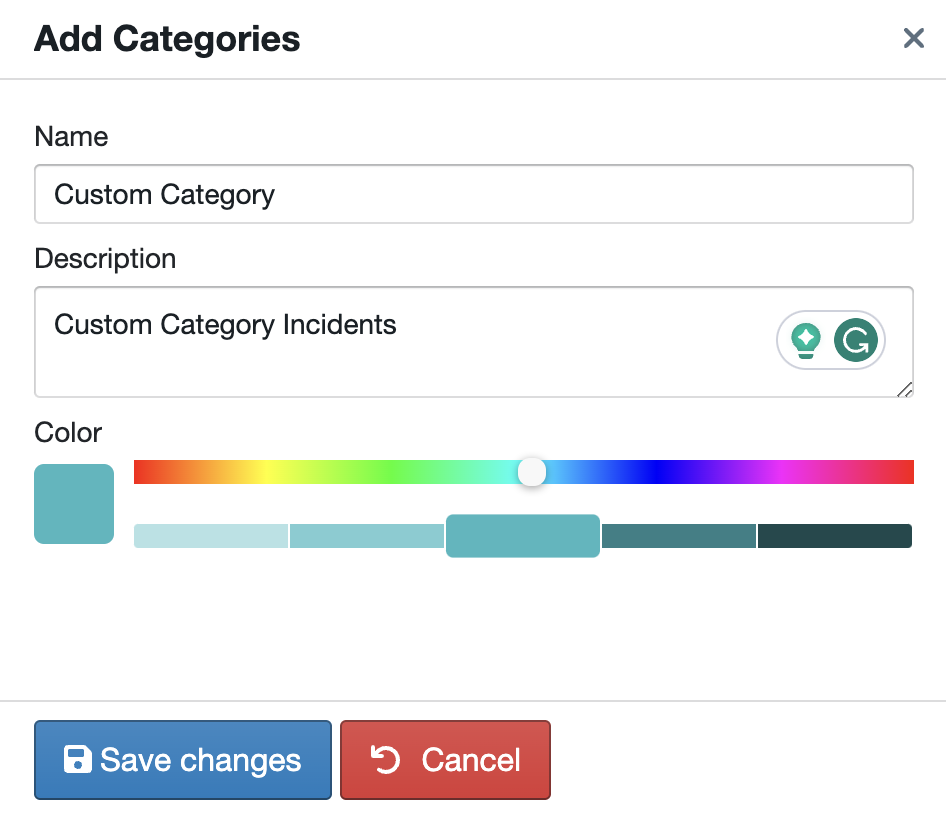
You can also add your own custom categories if you need to. To do this, on the 'Categories' tab, click '+ Add Categories' in the top right-hand corner. You can then give your custom category a Name, Description, and choose a colour as below:
Settings - Severities
The incident severities enable you to record the severity of an incident. We have 4 default severities shown below:
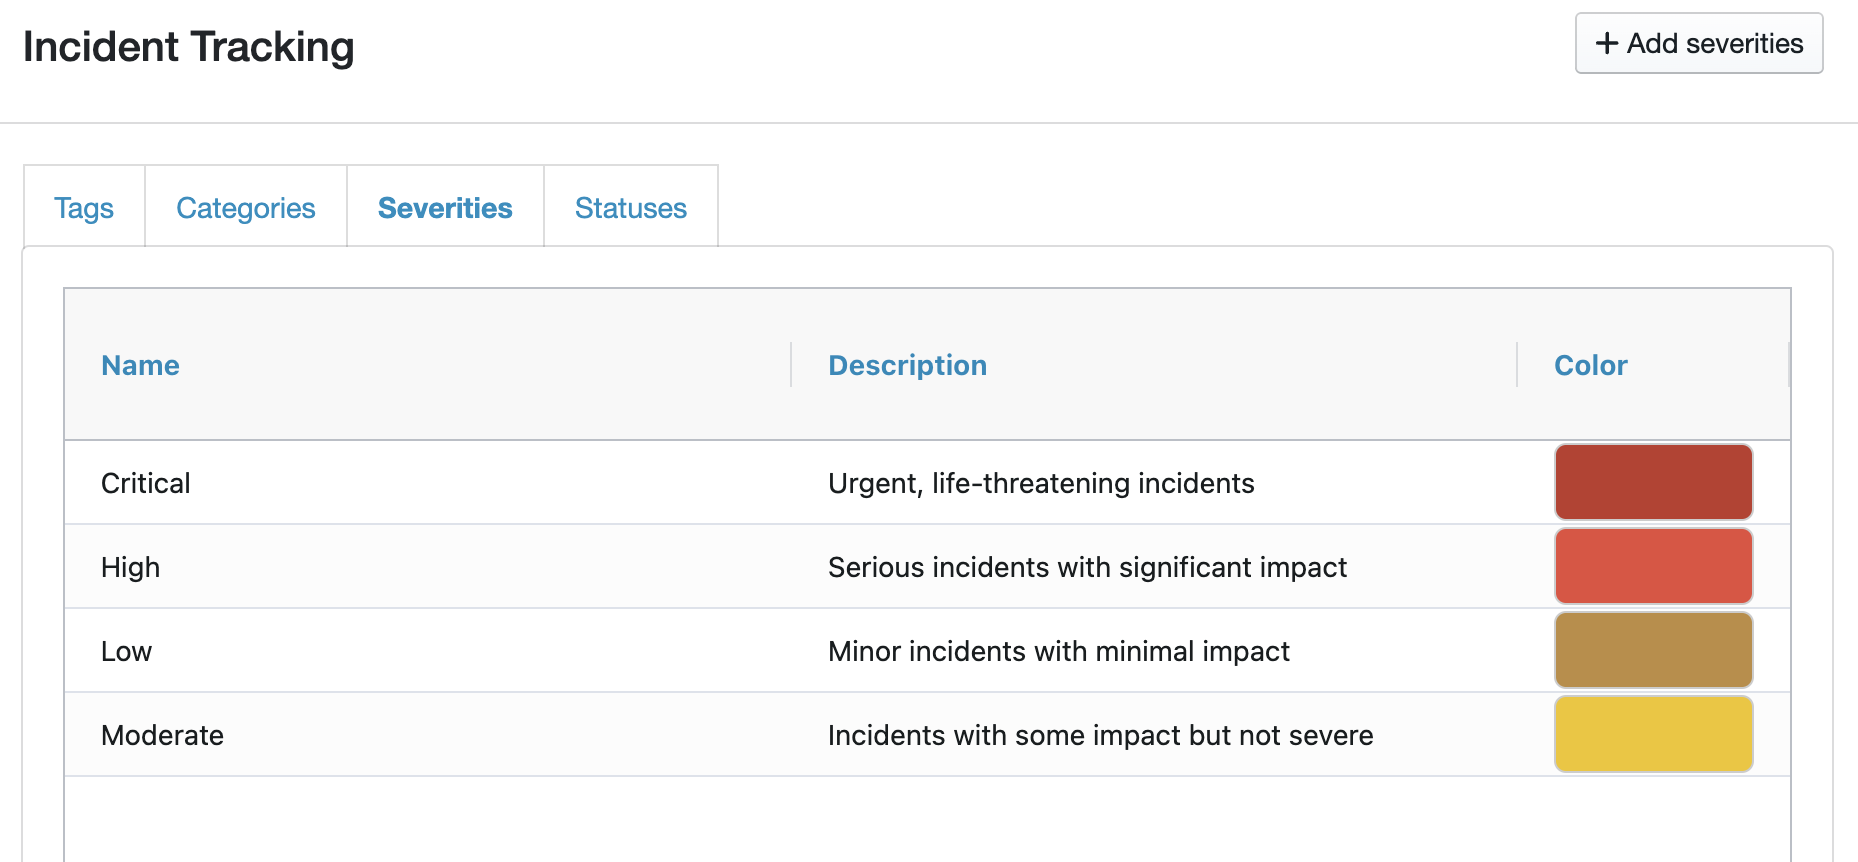
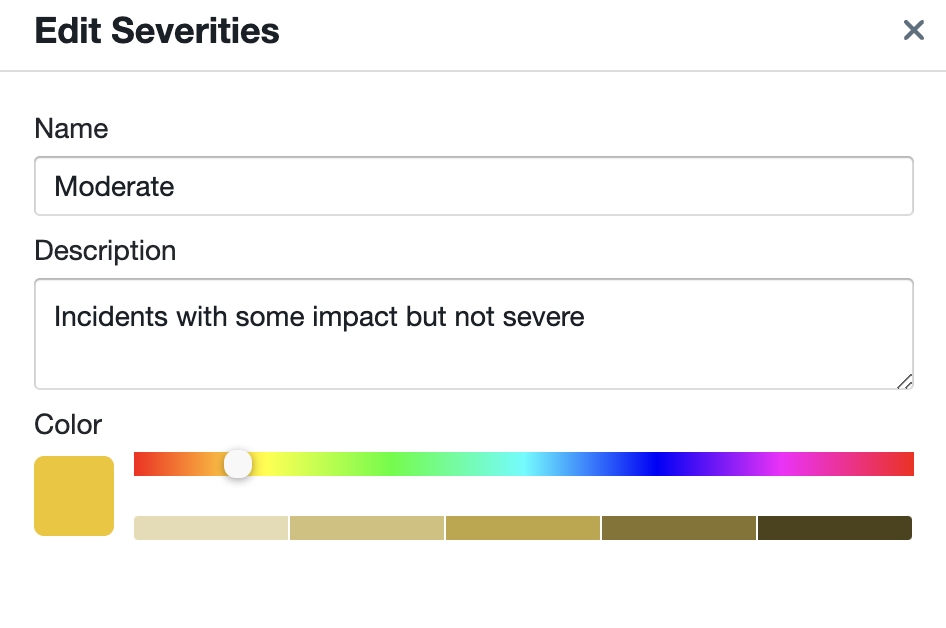
You can edit any of the default severities by double-clicking on the name to open the severity editor, where you can amend the Name, Description, and Colour:
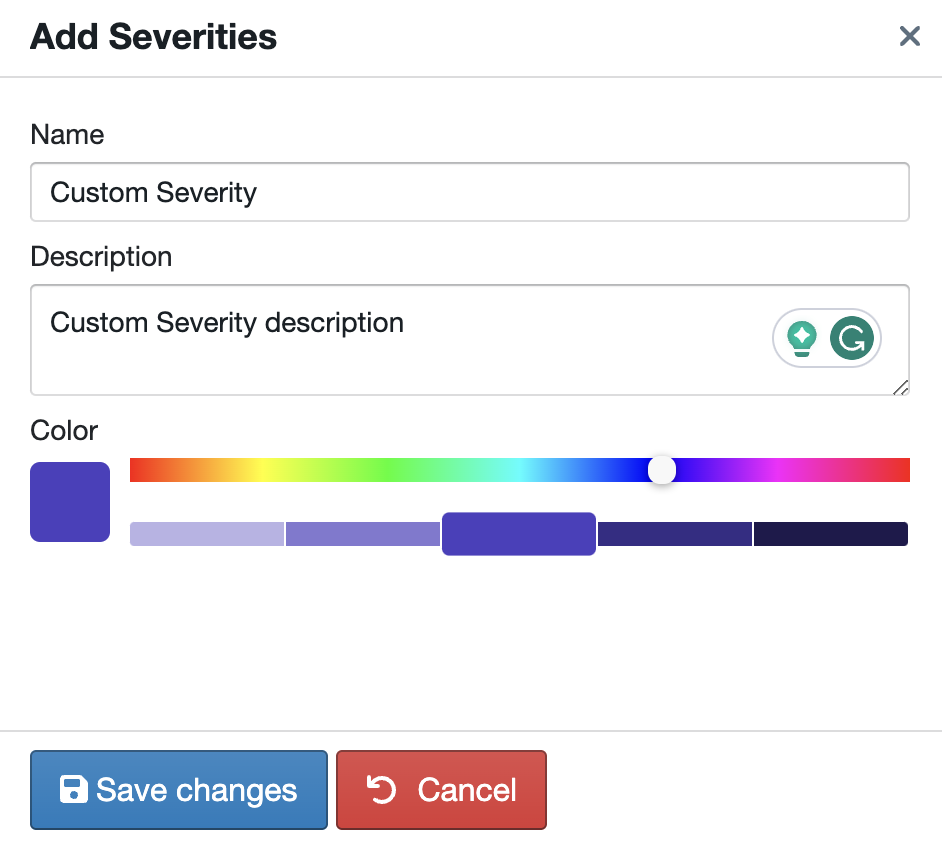
You can also add your own custom severities if you need to. To do this, on the 'Severities' tab, click '+ Add Severities' in the top right-hand corner. You can then give your custom severity a Name, Description, and choose a colour as below:
Settings - Statuses
The incident statuses enable you to record and track the current status of an incident. We have 5 default statuses shown below:
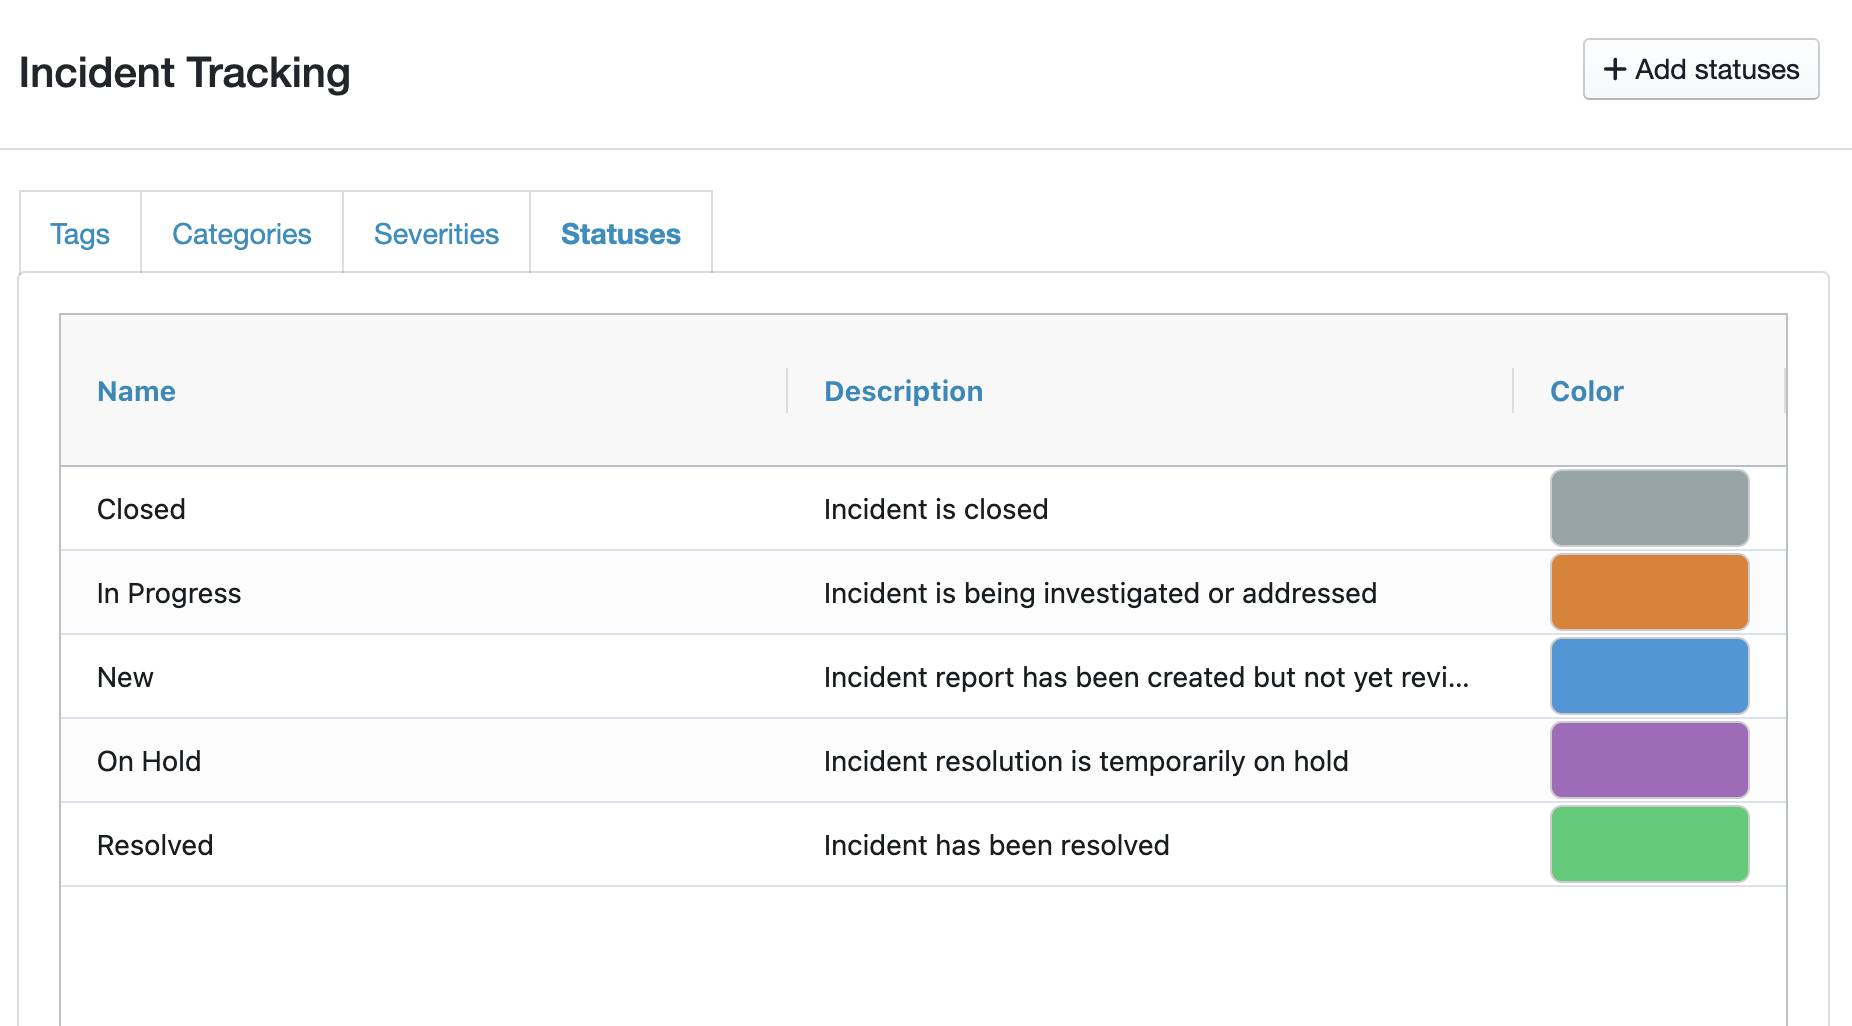
You can edit any of the default statuses by double-clicking on the name to open the status editor, where you can amend the Name, Description, and Colour:
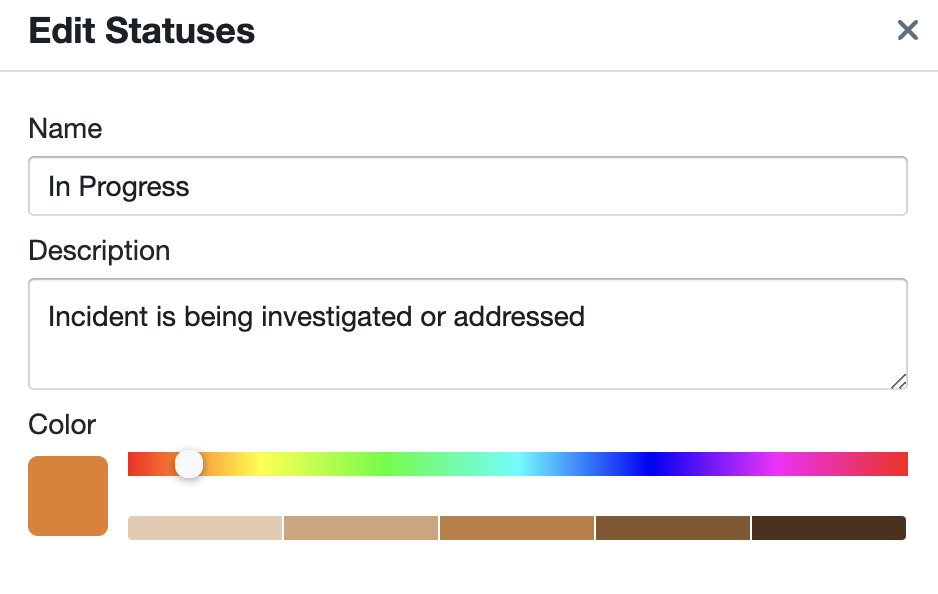
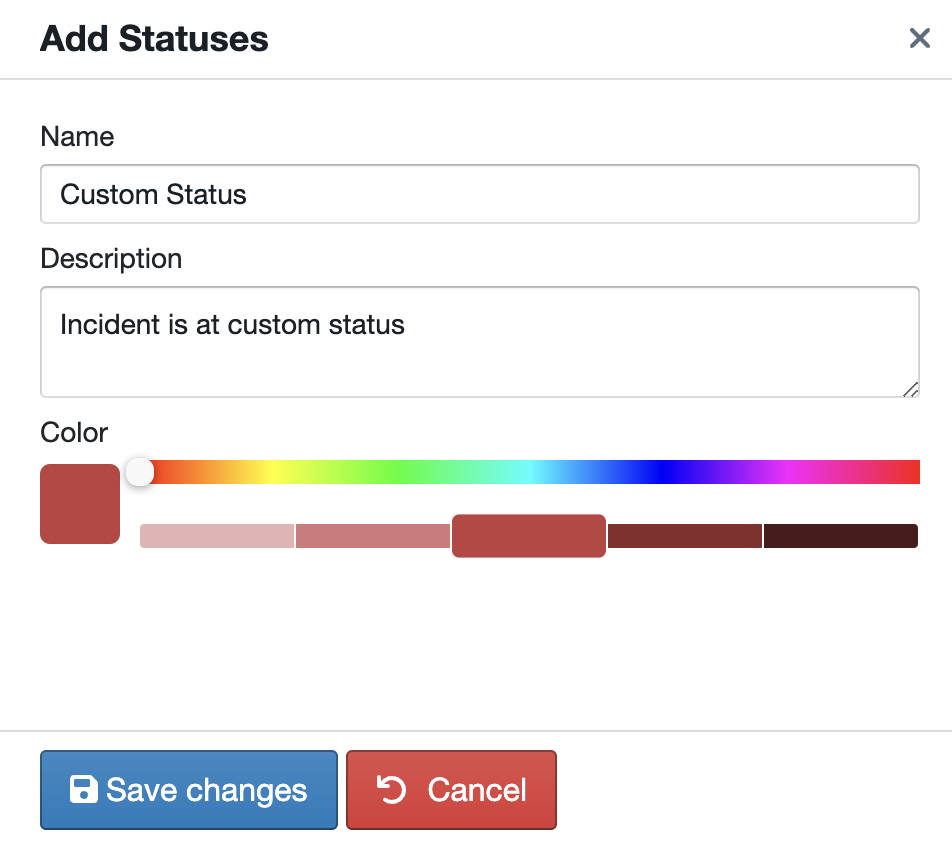
You can also add your own custom statuses if you need to. To do this, on the 'Statuses' tab, click '+ Add Statuses' in the top right-hand corner. You can then give your custom status a Name, Description, and choose a colour as below:
